Security > WEB Firewall > Console Usage Guide > Self > PIOLINK (WEBFRONT-KS)
WEB Firewall Self service provides guides to create and operate web firewall instances to help protect web servers. This document introduces how to use the WEB Firewall Self service.
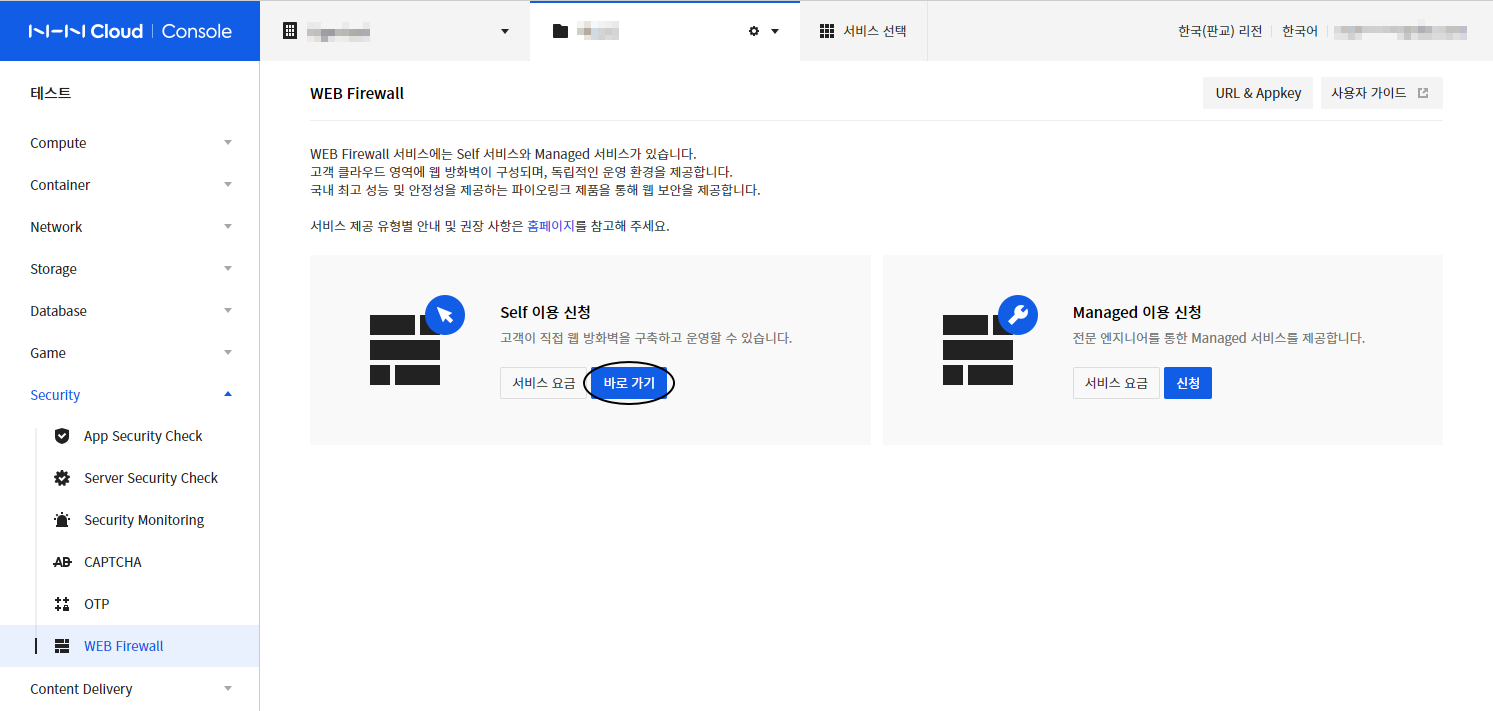
To use the WEB Firewall service, log in to NHN Cloud Console and click on Security>WEB Firewall in the service list.
Apply for and Cancel a Service
Create Web Firewall
- On WEB Firewall console, click on Shortcut from Apply for Self to navigate to the Create Instance page.
- Click + Create Instance and select PLOS WAF from the image list and enter instance information. Refer to Detailed Procedure to create Web Firewall Instance below for more information.
※ Service fee will be charged as soon as the instance is created.
Disable Web Firewall
Select and delete a Web firewall instance.
※ When configuring a web firewall, traffic goes through the web firewall, and service failure may occur if the instance is deleted while in use.
※ Please delete instance after checking the web service you are using.
Detailed Procedure to Create Web Firewall Instance
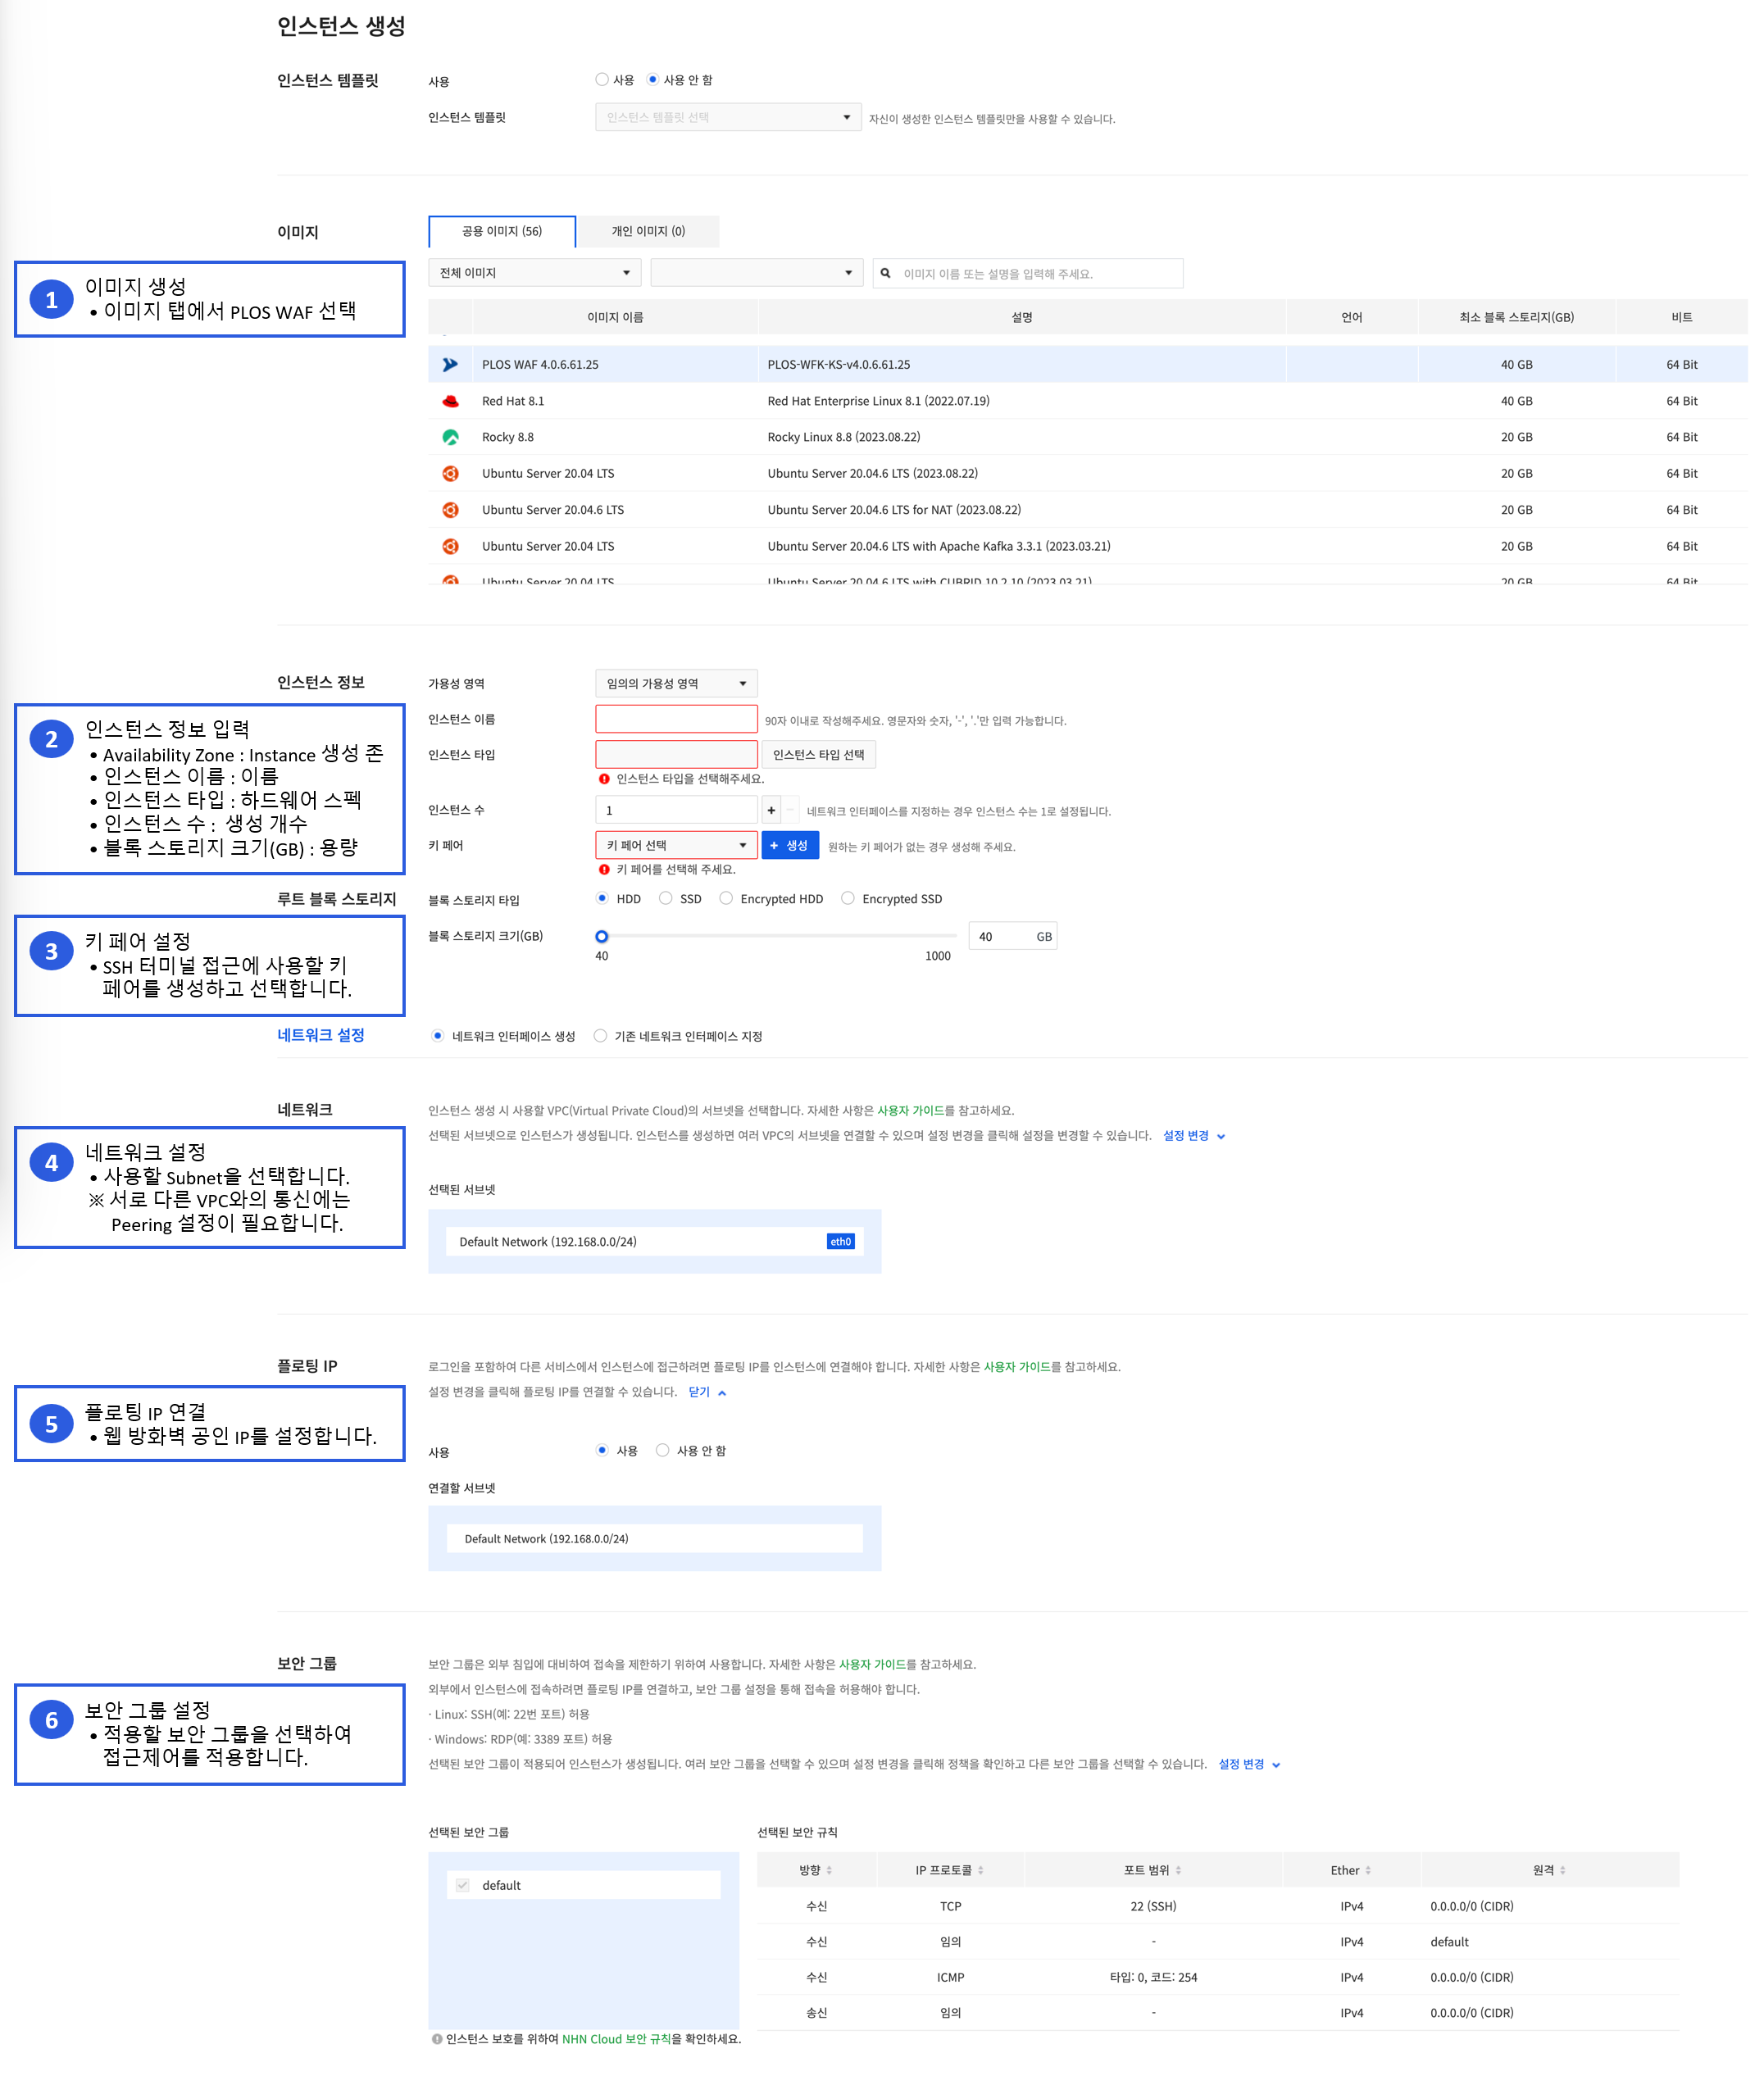
※ Set up a security group for trusted IPs and ports to use, as shown in the example below.
| Direction | IP Protocol | Port range | remote | description |
|---|---|---|---|---|
| Ingress | TCP | 80 (HTTP) | 0.0.0.0/0 (CIDR) | web service port |
| Ingress | TCP | 443 (HTTPS) | 0.0.0.0/0 (CIDR) | web service port |
| Ingress | TCP | 8443 | x.x.x.x/32 (CIDR) | Web firewall management port (Only allow administrator IP) |
| Ingress | TCP | 22 (SSH) | x.x.x.x/32 (CIDR) | Web firewall terminal port(Only allow administrator IP) |
| Ingress | ICMP | - | 192.168.0.0/24 (CIDR) | Communication for health check between the web firewall and web server |
※ Web firewall's default health check method is set to ICMP, and web service does not work when the web server and health check fail.
Initial setting for web firewall
-
Refer to Web Firewall Initial Setup Guide to proceed with initial setup, which includes the following information.
-
Set up application.
- From Load Balancing menu, set up the actual server to be protected.
- Enable Source NAT feature to make it work as proxy.
- Do test access to Web Firewall IP to verify whether or not the Web service is normal.
- Save and back up settings.
WEBFRONT-KS Initial Setup Guide * After initial setup is complete, DNS needs to be changed to Web Firewall Floating IP so that protected domain traffic passes through the Web Firewall. * You should update Web Firewall PLOS version to the latest, referring to the release notes provided by the manufacturer. * How to download release notes: Web Firewall Access > SYSTEM > General Settings > PLOS Management > Download PLOS > Download
Operate Web Firewall
Operate the equipment by referring to web firewall configuration manual, which includes the following information.
- Enable security policy you want to use.
- Use learning feature to optimize policy such as handling exclusions.
- Monitor security logs.
WEBFRONT-KS Application Configuration Guide
WEBFRONT-KS System Configuration Guide
※ Self-service only provides user guide and Managed Services provides operating agency service and 24-hour security control services.